From 11:00 PM CST Friday, Apr 11th - 1:30 PM CST Saturday, Apr 12th, ni.com will undergo system upgrades that may result in temporary service interruption.
We appreciate your patience as we improve our online experience.
From 11:00 PM CST Friday, Apr 11th - 1:30 PM CST Saturday, Apr 12th, ni.com will undergo system upgrades that may result in temporary service interruption.
We appreciate your patience as we improve our online experience.
Software developers rarely intend for a finished application to be used only on the development computer. To address this issue, NI provides the LabVIEW Application Builder, a user-friendly tool that enables LabVIEW users to configure build specifications:
Using build specifications differs significantly depending on the version of LabVIEW you use. Refer to the LabVIEW Help for the most detailed and up-to-date information about the Application Builder. You can access the LabVIEW Help by selecting Help»LabVIEW Help in LabVIEW.
The LabVIEW Application Builder is required in order to create an executable or installer. The LabVIEW Professional Development System includes the Application Builder. If you use the LabVIEW Base Package or Full Development System, you can purchase the Application Builder separately.
The LabVIEW Application Builder leverages the organization provided by the LabVIEW Project, which organizes and manages the files associated with an application. These files include VIs, project libraries, documentation, data files, hardware configuration and more. The Application Builder creates applications, DLLs, and more from user-specified files in a LabVIEW project, and individual build settings are saved in Build Specification in the project.
If you are looking for Getting Started information, look through the resources available in Developing and Distributing an Application and follow the links below for a detailed reference for each build specification type.
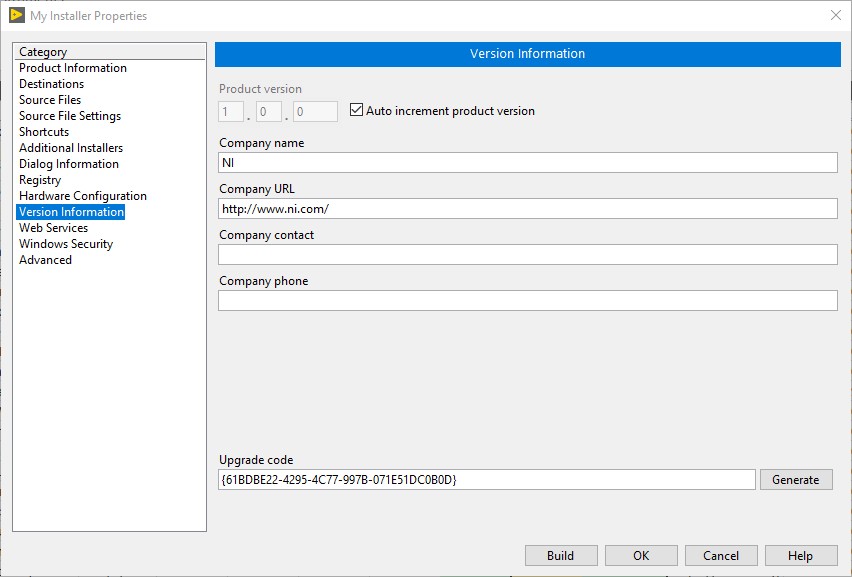
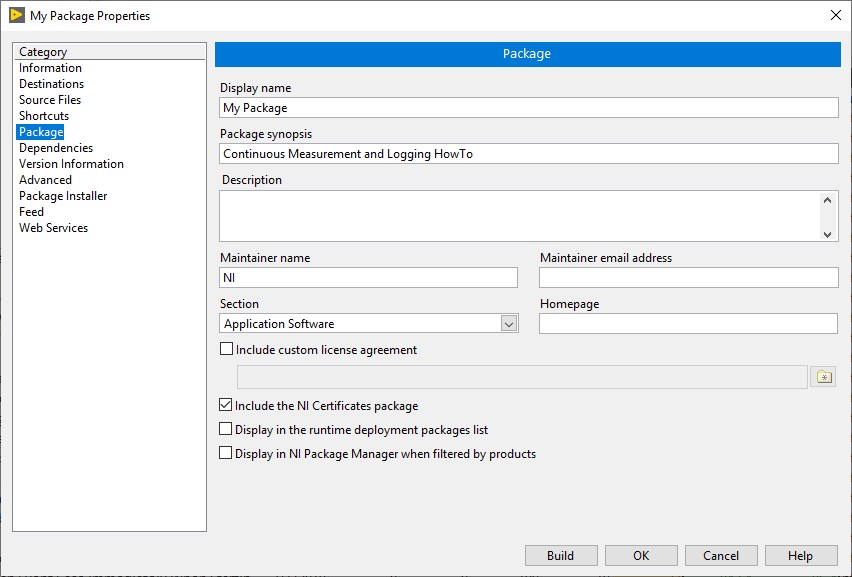
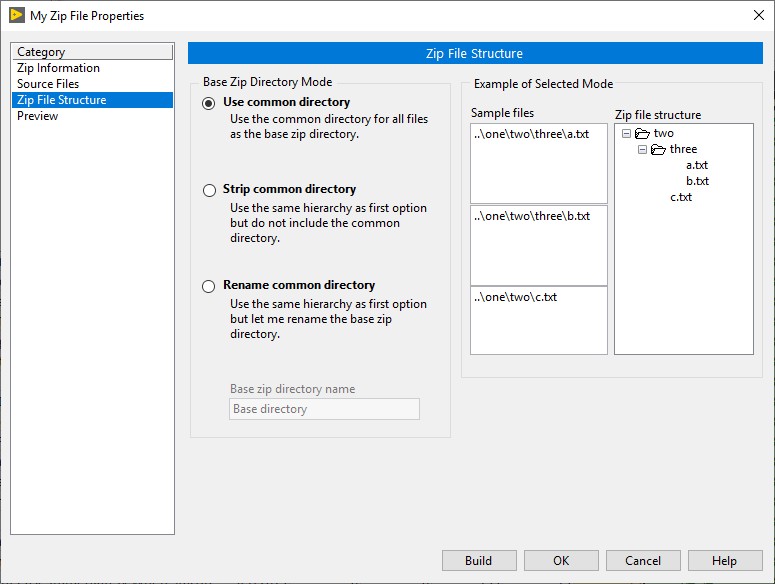
For more information regarding the individual configuration pages for each type, refer to the LabVIEW Help topic for each type – Application (EXE), Installer, .NET Interop Assembly, Package, Packed Library, Shared Library, and Zip File.
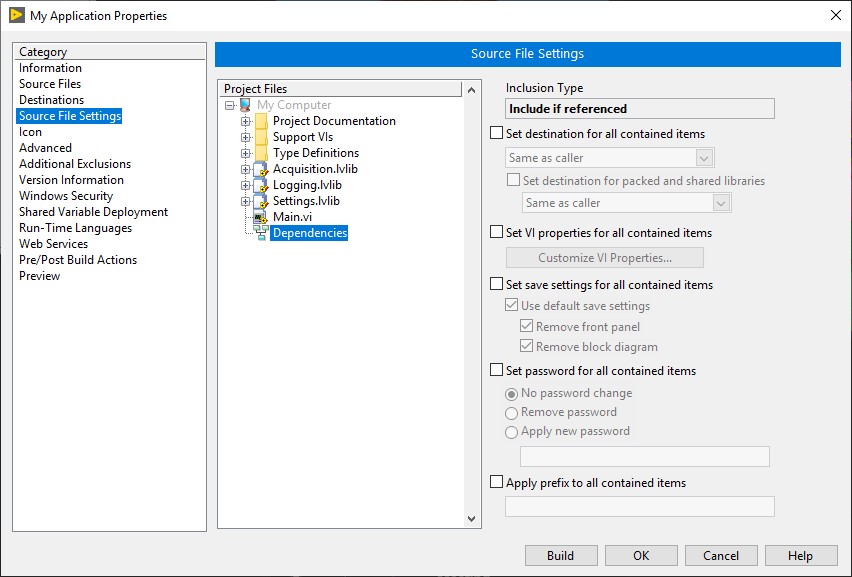
When you are using the Application Builder you are presented with several different configuration pages. These pages are titled similarly for the different build specification types but may look different depending on the type. The screenshots below are from the Application (EXE) build type unless otherwise stated. You can follow along with the images below by opening a LabVIEW project, right-clicking the Build Specifications project item, and selecting New >> Application (EXE) or other build type. Explore the options in each configuration page and refer to the Application Properties in LabVIEW Help for more information on settings per category.
Below, the term Required is used to indicate that you must customize information on the page for your build specification. Recommended means the page will use default settings but you should customize them. As an example, you could have multiple Application (EXE) specifications but if you didn’t customize the recommended Information page, all the EXEs would be named “Application.exe”. To see which configurations are required, recommended, or optional for your build type, see the Configuring Specifications for a Built Application section of the Developing and Distributing an Application in the LabVIEW Help.


 .
.
If you are moving code between Development machines and/or want users to have access to the source files when distributing code, you will not want to bundle code in EXEs. Instead, look into using Source Distributions to package LabVIEW source files and distribute those to other LabVIEW developers. The capability to create Source Distributions is available with any version of LabVIEW (Base, Full, or Professional) and does not require Application Builder.